Tuesday, January 24, 2012

My Favorite: The Tot Spot

Last week we made it over to the Tot Spot for only the second time this year.  I wish we could make it more often, as the kids always have a great time when we are there.  If you are unfamiliar with the Tot Spot, it's a wonderful indoor play area at the Ithaca Youth Bureau for children 5 and under. The Tot Spot isn't a drop-off place, parents and care providers stay with their kids.


The Tot Spot has slides, ride on toys, balls, small toys, books, a kitchen and more. What's more, the Tot Spot employees usually bring out the parachute, and sometimes large pieces of paper and markers. It's a great place to escape the winter blues!  Plus, all the toys are sanitized before they're put away each day. 

The Tot Spot has new hours as of this January.  They are no longer open Sunday afternoons, but they are open Mondays now. 

The Tot Spot
Located at the Ithaca Youth Bureau
1 James L. Gibbs Drive, Ithaca (near Stewart Park)

Open Mondays, Tuesdays, Thursdays and Saturdays from 9:30-11:30 am

Children 5-12 months old $2; 13 months - 5 years $4.

Tuesday, January 17, 2012

My Favorite: Parent's Night Out!

So, I'm not sure if I can technically call this "My Favorite" if I've never really done it, but I LOVE the idea of doing a parent's night out with one of our great local groups.  I've seen that the Cornell Daycare does this, as does the Coddington Community Center and other places.  Most recently, I read about the one coming up at Finger Lakes Gymnastics next Saturday night.  Finn and Nora LOVE this place!  We haven't done their classes, but we've gone to their unstructured play time several times, as well as a birthday party.  For those interested, here are the details!  They do this every month too!

Nora...blurry, but having fun!

"Give your child a super fun experience on a Saturday night while you go out and have a fun time of your own! Reservation is required and space is limited.

Open to children ages 4 and up, they will enjoy gymnastics fun, games, group activities, music, arts & crafts, Pizza and a short movie.

Saturday Jan 21, 6pm – 10pm, $20 member / $25 non-members

Contact the office 607-273-5187 or email
FLGA10@aol.com to reserve your space!"


*Update! Just read about a Parents Night Out at the Cornell Daycare too!  

Please note that your child does not need to be enrolled at the center to attend this event.
State mandated forms will need to be completed for all non-enrolled children. You can find
these forms on our websites homepage titled “back up care packet”

What are your plans for Valentine’s Day?  Cornell Child Care Center is hosting a Parent’s Night Out
Friday, February 10, 2012, 6:30pm-10:00pm
Your children can enjoy a pizza party at the center while you enjoy an evening out!
Pizza, applesauce, juice/milk will be served at 6:45pm
Children will be changed into pajamas after dinner
A rated ‘G’ movie will be available at 7:30pm for those children who are interested
Children will have opportunities to play with manipulative toys, read books, paint and more….
The cost of this event is $30.00 per child.
Space is limited so please make your reservation by contacting the center at 607-255-1010 or at
cornell@brighthorizons.com

Wednesday, January 11, 2012

Making Snow


It’s the 11th of January and it’s nearly 50 degrees out, and we’ve barely had an inch of snow all winter. What’s a mom with snowman starved children to do?


It’s time to make snow! Using a recipe I saw on Pinterest, I whipped up a small batch of “cloud dough.” For those familiar with Moon Dough & Moon Sand, this is like the homemade version. It’s soft like flour, but sticks together, so it’s perfect for packing into balls or pressing into a mold to make a “sandcastle.”


The kids sat out in the sunshine and played with their “snow” for nearly half an hour. Nora liked packing it into our little bowls and making “cake,” while Finn preferred to smash the little castles we made.


Recipe
8 cups flour
1 cup baby oil

 (I made a half recipe. Also, I needed to add a bit more oil)

Sunday, January 8, 2012

It's Rainbow Unicorn Birthday Party! (part 2 - Piñata Tutorial)

Nora had expressed interest in having a piñata for her birthday party. I had been thinking for a while that making a piñata would be sort of fun. We had made Finn a paper mache' hot air balloon a year earlier, so I thought, how much harder could a rainbow shaped piñata be? hahahaha....


Well, to anyone else thinking of attempting to do this project with their child, I have a little advice:

1. This is a project for those who love to make their own stuff, or those who have more time than money.  If this is not you, I highly recommend buying a rainbow piñata instead.

2. If your child is under 6, you will likely be making 90% of the piñata by yourself.  My daughter is anti-gooey hands, too young to properly cut with scissors, and barely able to fold paper.  Not sure why I thought this would be a good project for her.

3. Give your self plenty of time. Piñatas need a lot of time to dry in their various stages. We started ours about 3 weeks before the party and this worked well. We were (read: I was) able to work on it on and off in spare time, which made it more fun.

4. Consider less paper, more paint. Folding, cutting, and gluing the paper was the most time consuming part of the project. Especially for young children, painting would be an easier way to get them to more actively participate and they will be just as pleased with the result.

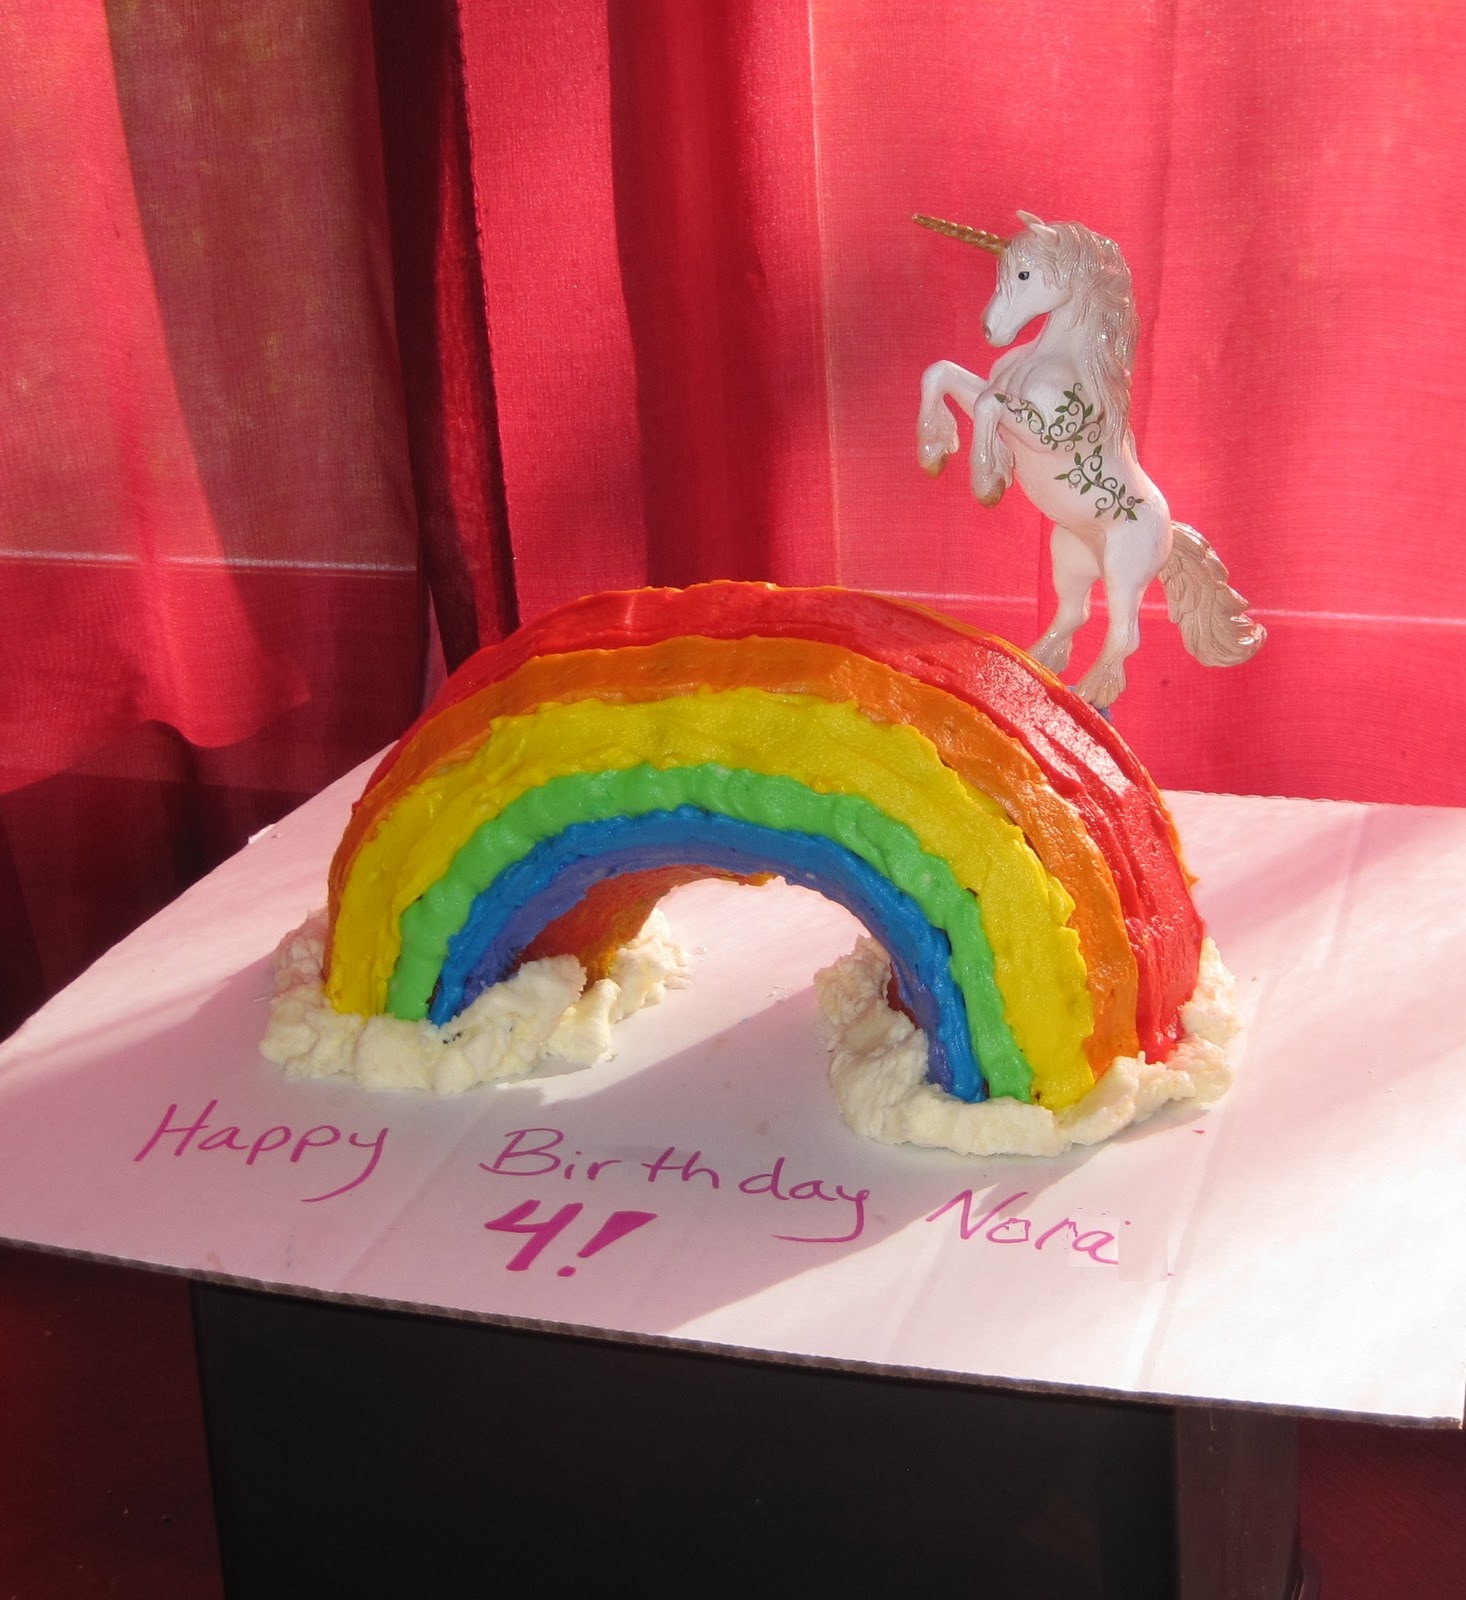
That being said, here's the steps for the Rainbow Piñata for Nora's Rainbow Unicorn birthday party!


Blow up twist "animal" balloons and tape together in a bowed shape. I would recommend a tape like blue painters tape. I think it would work better than the scotch tape I used. I'd recommend 5 balloons.


To maintain the bowed shape, attach pipe cleaners at each end of the rainbow and twist them together at your preferred distance.


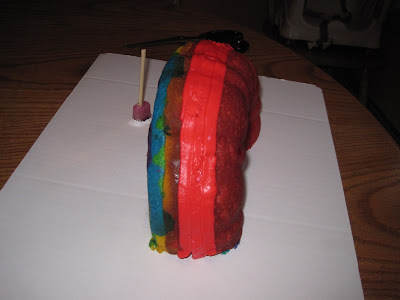
Paper-mâché your rainbow, taking care to fully wrap the rainbow. I used a water/flour mixture, but you can use whatever adhesive you prefer.


Find a nice spot where the piñata can dry for a few days. I'd recommend putting paper or plastic down, as it will drip, and covering the spot on the wall it will lean against.


Once the paper mache is FULLY dry inside and out, you can pop the balloons and shake out any excess crud from the inside.


Attach a hanger. I used curling ribbon attached with duct tape and that was strong enough.


I used 2 methods for the paper. Both used strips, but one I fan folded and the other I just folded in on itself. I found the second worked much better. I folded the strips of tissue paper about 5 times, at around an inch and a half wide. I then cut lots of little slits into the paper. After the strip is attached and fully dried, you can fan out the little slits to make the piñata appear fuller. There were also areas where I needed to add small sections of various colors to fully cover the paper mâché. I tired of this process and used large strips of blue to cover the bottom of our rainbow.

Once the covering is fully dry, flip your rainbow upside down and add candy, small toys, fruit snacks, whatever you want.


Cover the ends with duct tape. Flip upside down several times and test that they are sealed.


Finally, I hot glued cotton balls onto the bottom of our rainbow.


Sad to see all that time and energy whacked at and destroyed by a stick, but the kids LOVED it. Plus, we were lucky enough that about 2/3 of the rainbow was not wrecked. I closed off the end and used it as a decoration in Nora's room.

Friday, January 6, 2012

It’s A Rainbow Unicorn Birthday Party! (part 1)

I’m no professional baker, but I really enjoy making special cakes, especially custom birthday cakes for my kids.  I’ve made a cat, a monkey face, a hot air balloon, and a “tree with yellow leaves.”  Yes, she wanted a tree.  So when I asked Nora what she wanted for her birthday cake, and she told me “A unicorn jumping over a rainbow!” I could have jumped over a rainbow myself!

After several weeks of double checking that this was indeed what she wanted, the Rainbow Unicorn themed birthday party was a go! 


Cake:
White cake + gel food coloring + bunt pan = RAINBOW MAGIC!
Strategic cutting - Don’t cut the cake down the middle, but more like 2/3 down. 

Frosting - I piped the color on then smeared it down.
Added chunks of white frosting for the clouds and done!

Since I didn’t think I had the ability to make a fondant unicorn, I found the jumping unicorn online by Schleich and propped it behind the cake using some little stacking cups as a stand and hot glue.

Decorations:
Rainbow shaped twist balloons,

Rainbow colored silverware, cups, tablecloth, food etc.

Large inflatable rainbow (from our baby pool) for the gift area

And rainbow gift bags with rainbow & unicorn goodies inside that I didn't get a picture of.

Entertainment:
Unicorn tattoos and rainbow face paint & drop the cloud through the rainbow games (no pics).

Limbo under the rainbow stick

Rainbow Pinata (tutorial here in "It's a Rainbow Unicorn Birthday Party part 2)